Introduction
Disassembling an HP notebook can seem intimidating, but it’s an essential skill for repairs and upgrades. With clear instructions and the right tools, you can safely handle this task. This guide provides detailed steps for disassembling your notebook, highlighting the importance of preparation and caution throughout the process.

Why and When to Disassemble Your HP Notebook
You may need to disassemble your HP notebook for various reasons, such as fixing hardware issues, upgrading components, or cleaning internal parts to prevent overheating. Before proceeding, ensure that disassembling won’t void warranties or damage your device. Whether you aim to enhance performance or solve problems, understanding when and why to disassemble is crucial for a successful outcome.
Tools and Precautions
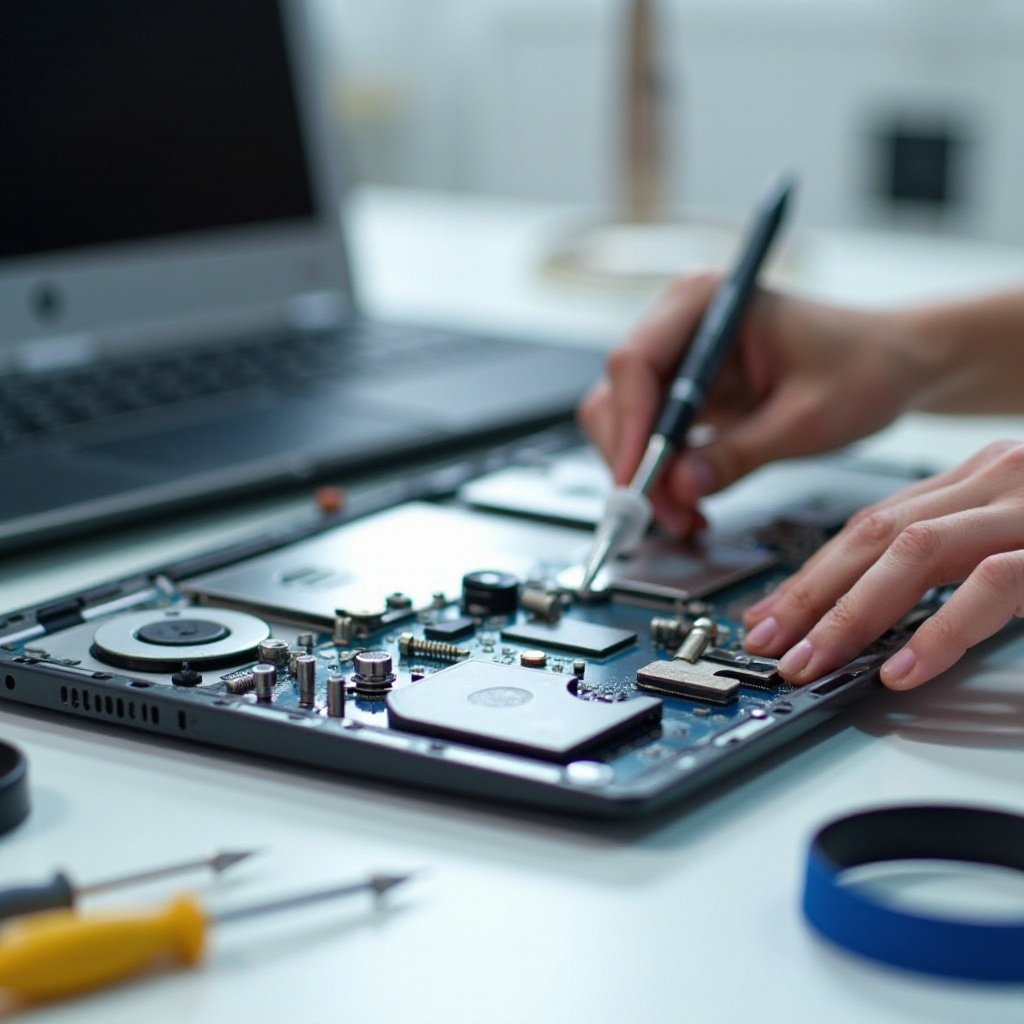
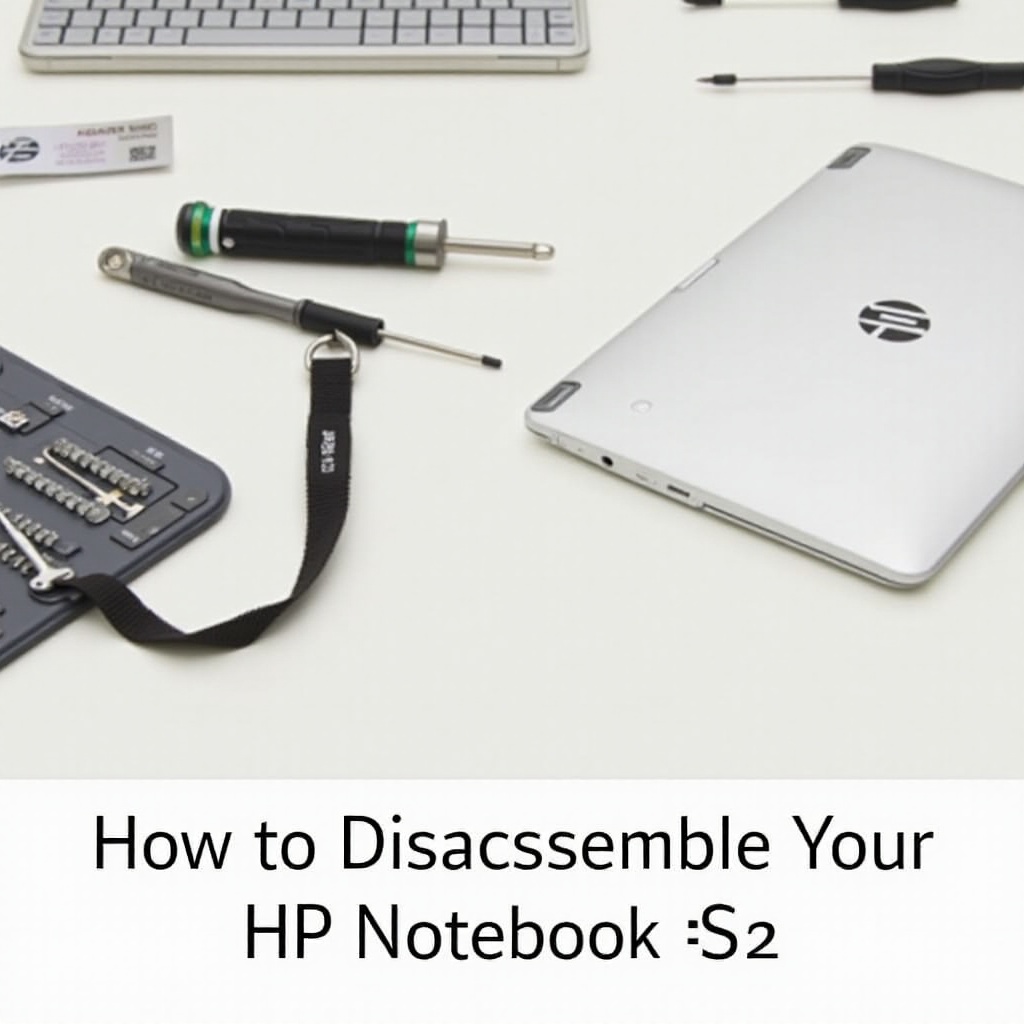
Before disassembly, gather necessary tools and observe safety precautions.
- Essential Tools Needed
- Precision screwdriver set for handling small screws
- Plastic spudger for safely opening the case
-
Anti-static wrist strap to protect against electrostatic discharge
-
Safety Precautions to Consider
- Power off the device and unplug it from power sources.
- Organize a clean, flat workspace to avoid losing small parts.
- Wear an anti-static wrist strap to prevent electrical damage.
Proper preparation and the right tools set the stage for a smooth disassembly, minimizing risks and ensuring your notebook remains intact.
Preparation Steps Before Disassembly
Preparation is key to a successful disassembly. Always back up important data and create a safe environment.
- Backing Up Your Data
-
Protect your data by backing it up to an external drive or cloud storage.
-
Setting Up Your Workspace
- Choose a well-lit area with ample space to keep track of components. Use a tray or cloth to organize parts and screws.
With your data backed up and workspace ready, you’re prepared to begin the disassembly.
Disassembling the HP Notebook – Step-by-Step Instructions
The core part of our guide involves careful disassembly. Follow these instructions to avoid errors:
- Removing External Components
-
Disconnect peripherals like USB drives. Set devices aside.
-
Detaching the Battery and RAM Cover
- Flip over the notebook. For removable batteries, release the battery latch. For fixed batteries, refer to your manual for instructions.
-
Locate and unscrew the RAM cover to expose memory slots.
-
Accessing the Hard Drive and Optical Drive
- Unscrew the panels holding the hard drive and optical drive. Carefully slide them out, noting their original positions.
Disassembling with care maintains the integrity of components, facilitating efficient reassembly later.
Inside the HP Notebook – Removing Major Components
Upon accessing the notebook’s interior, proceed with caution to prevent damage.
- Motherboard Disassembly
-
Gradually unscrew the motherboard, making sure to detach all ribbon cables and connectors gently.
-
Handling the Cooling System Carefully
- Unscrew the cooling fan and heat sink meticulously, ensuring no connectors are damaged during removal.
Finishing this stage, you’re ready to restore your notebook to working condition.
Reassembling Your HP Notebook
Reassembly requires precision. Follow your disassembly notes carefully:
- Reversing the Disassembly Steps
-
Use your notes to reverse the process, ensuring each component fits securely in its place.
-
Tips for a Successful Reassembly
- Check all connections before closing the casing. Secure each screw without overtightening.
Careful reassembly prevents damage and ensures your notebook functions correctly post-disassembly.
Troubleshooting Common Issues Post-Reassembly
Even meticulous reassembly may lead to issues. Here’s how to address common problems:
– If the notebook fails to power on, double-check power connections and battery placement.
– Loose screws can cause rattling; verify all screws are properly tightened.
– Unrecognized components may result from loose connections; re-secure any such items before restarting.
A calm, systematic approach will help resolve any post-assembly issues you might face.
Conclusion
Disassembling your HP notebook, when done correctly, offers insights into your tech and empowers you to perform essential upgrades or repairs. This guide’s step-by-step approach ensures a safe, efficient process, leaving you with enhanced confidence in handling your device. Embrace the knowledge and enjoy maintaining and improving your HP notebook.
Frequently Asked Questions
What should I do if my HP notebook doesn’t turn on after reassembly?
Double-check all internal connections and ensure the battery is correctly installed and the device is receiving power.
Can I disassemble and upgrade my HP notebook on my own?
Yes, following safety guidelines and detailed instructions will allow you to perform basic upgrades such as RAM or storage replacement.
How often should I clean the internal components of my HP notebook?
Clean the internals every 6 to 12 months, depending on usage and dust levels, to maintain optimal performance.