When your Samsung TV isn’t responding to remote commands, a faulty IR sensor might be to blame. The infrared sensor receives signals from your remote, allowing you to control the TV from anywhere in the room. Without it, your remote is rendered ineffective, making your TV less convenient to use. Follow this comprehensive guide to replace your IR sensor and restore your TV’s functionality.
Understanding the Importance of the IR Sensor in Samsung TVs
The IR sensor in Samsung TVs, while small, is vitally important. It acts as a bridge between your remote control and the TV itself. Positioned at the front, it picks up infrared signals sent from your remote. If the IR sensor is damaged or malfunctioning, your input won’t reach the TV, causing frustration. Thus, understanding its role and maintenance is crucial.
What is an IR Sensor?
Infrared (IR) sensors detect light waves that are invisible to the human eye but are utilized for communication between devices. In the context of TVs, these sensors capture beams sent from a remote, converting them into electronic signals to execute commands like changing the channel or adjusting volume.
How Does the IR Sensor Work in Samsung TVs?
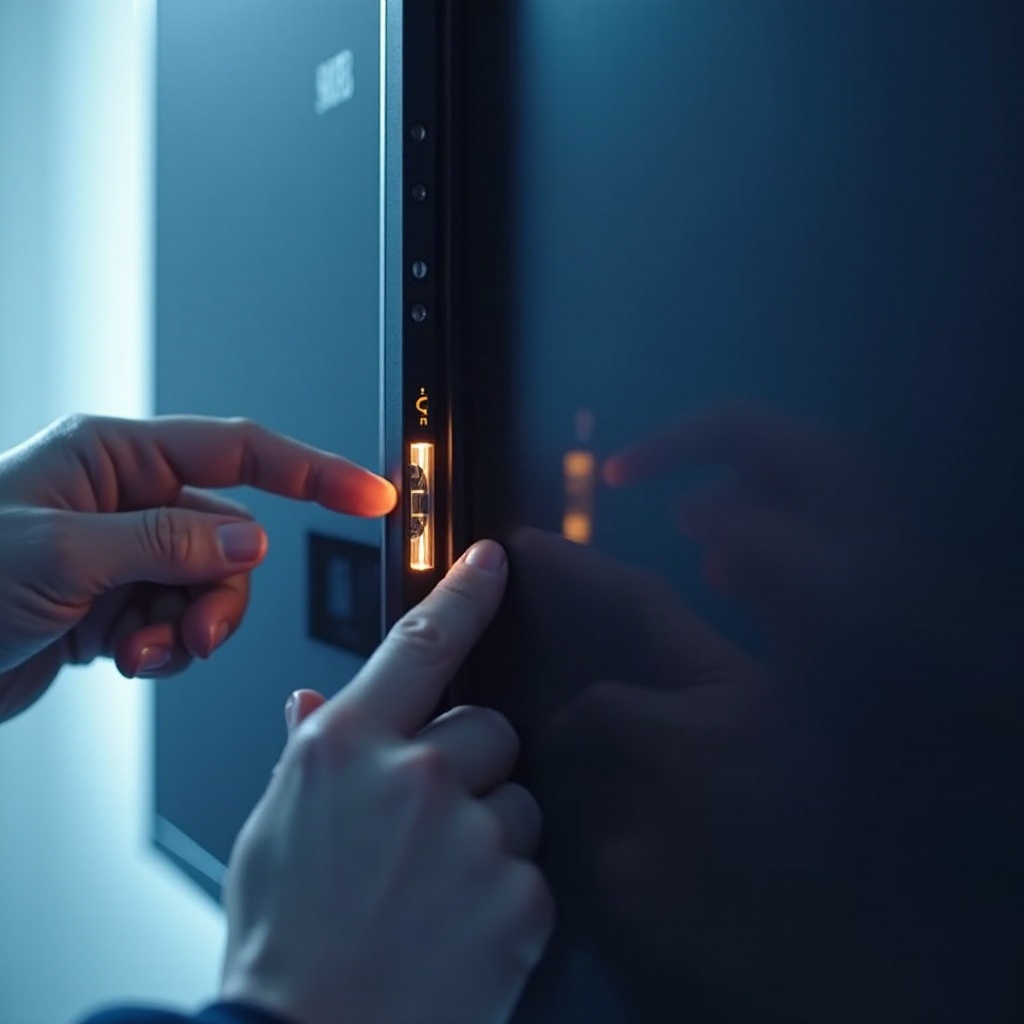
Upon pressing a button on your remote, an infrared beam is emitted toward your TV. The IR sensor detects this beam and translates it into an electronic command for the TV to follow. Continuous usage and environmental factors like dust can affect its performance, highlighting the need for occasional replacements.
Signs Your Samsung TV IR Sensor Needs Replacement
Detecting a faulty IR sensor early can prevent unnecessary frustration and ensure smooth operation. Here are some indicators that a replacement might be necessary:
Inconsistent Remote Functionality
- The remote’s response is erratic, with certain buttons working sporadically.
- Commands take longer than usual to register on the TV.
Complete Remote Response Failure
- No response from the TV when using the remote, both audio and visual indicators are absent.
- Remote works perfectly with other devices, confirming the remote itself isn’t faulty.
Other Symptoms to Consider
- Only manual control of the TV functions properly.
- Using another functional remote yields the same unresponsive result.
If these issues are consistent, inspecting and possibly replacing your IR sensor should be your next step.
Tools and Materials Required for Replacement
Before you begin the replacement process, it’s essential to gather the necessary tools and materials. This preparation will make the operation smooth and prevent interruptions.
Essential Tools
- A full set of screwdrivers
- Pair of tweezers
- Microfiber cloth for dust
- Anti-static wrist strap
Recommended Replacement Parts
- A certified Samsung TV IR sensor matching your model
- The user manual specific to your TV
Equipped with the right tools and parts, you’re now prepared to replace the IR sensor.
Step-by-Step Guide to Replacing the Samsung TV IR Sensor
With everything ready, it’s time to proceed with replacing the IR sensor. Follow these steps meticulously for successful execution:
Safety Precautions
- Ensure your TV is unplugged to avoid electric shock.
- Wear an anti-static wrist strap to safeguard the TV components from static electricity.
Disassembling the TV
- Lay your TV face-down on a soft, padded surface to protect the screen.
- Use the screwdriver to remove all screws securing the back panel.
- Gently set aside the screws for reassembly.
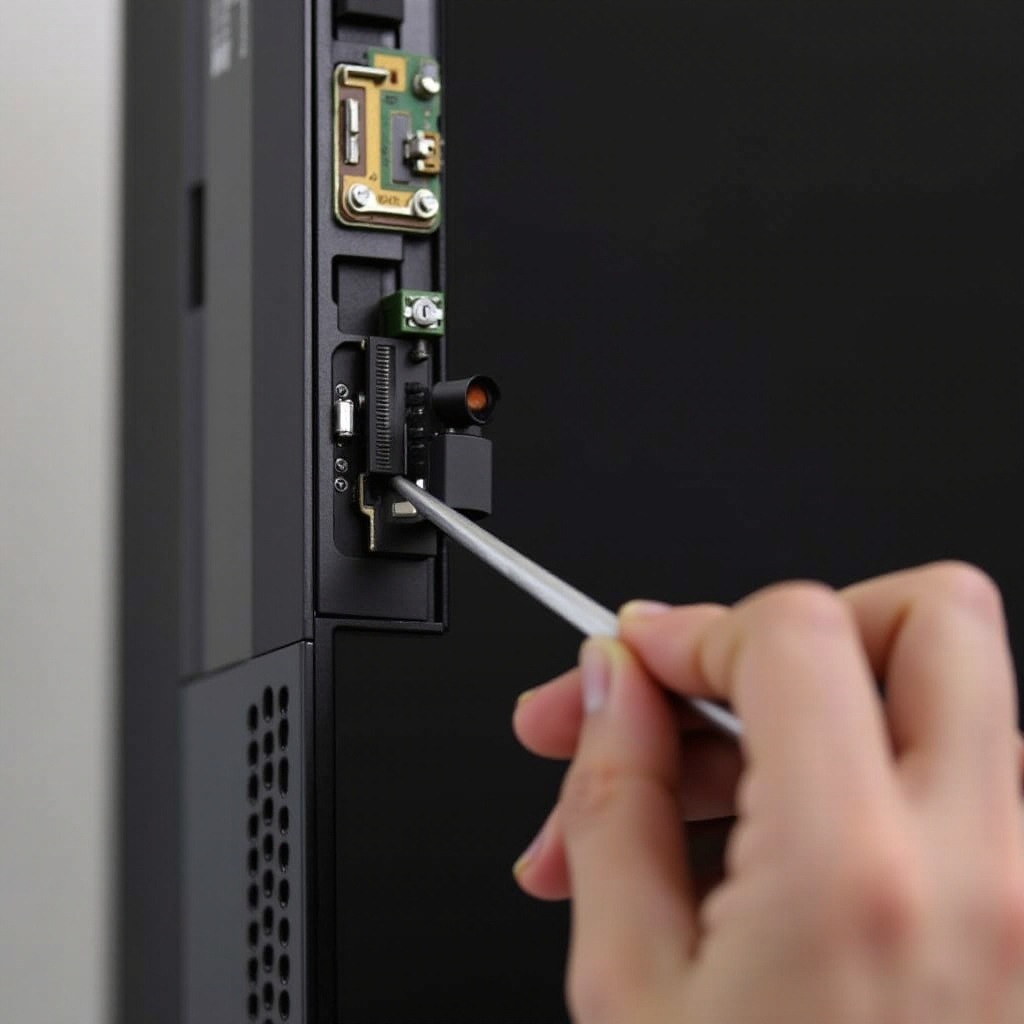
Locating and Removing the Old IR Sensor
- Identify the IR sensor typically located at the bottom of the TV.
- Disconnect any cables attached to it carefully.
- Use tweezers to remove the old sensor without applying force.
Installing the New IR Sensor
- Place the new IR sensor in the same position as the old one.
- Reconnect all necessary cables to ensure it functions correctly.
Reassembling the TV
- Reattach the back panel using the screws removed earlier.
- Confirm that all elements are secure and the panel sits flush.
Testing the New IR Sensor
After reassembling, it’s crucial to verify if the new sensor works as expected. This confirmation ensures that the replacement was adequately performed.
Initial Tests After Replacement
- Plug the TV back in and power it on.
- Attempt to control the TV using the remote to test responsiveness.
Troubleshooting Common Issues
- If the TV remains unresponsive, double-check all connections.
- Validate that the remote still functions by using it with another device.
Common Mistakes to Avoid During Replacement
Awareness of potential pitfalls can help prevent damage and ensure success.
Skipping Safety Measures
- Never attempt repairs with the TV plugged in.
- Always use an anti-static wrist strap to protect sensitive electronics.
Incorrect Installation Techniques
- Avoid using excessive force when handling components.
- Ensure all cables and parts are accurately aligned.
Conclusion
Replacing your Samsung TV’s IR sensor brings your remote control back to functioning, enhancing your viewing pleasure. This DIY task not only saves you money but also enriches your understanding of TV mechanics. Using this guide, approach the task with confidence and ensure a successful outcome.
Frequently Asked Questions
Can I replace the IR sensor myself?
Yes, with the correct tools and by following this guide, you can perform the replacement yourself.
How do I know if the IR sensor is the main issue?
By observing signs like inconsistent remote response and confirming the remote works with other devices, you can deduce that the IR sensor is the problem.
What should I do if the TV still doesn’t respond after replacement?
Ensure all connections are secure and the remote works correctly. If issues persist, consider consulting a professional repair service.