Introduction
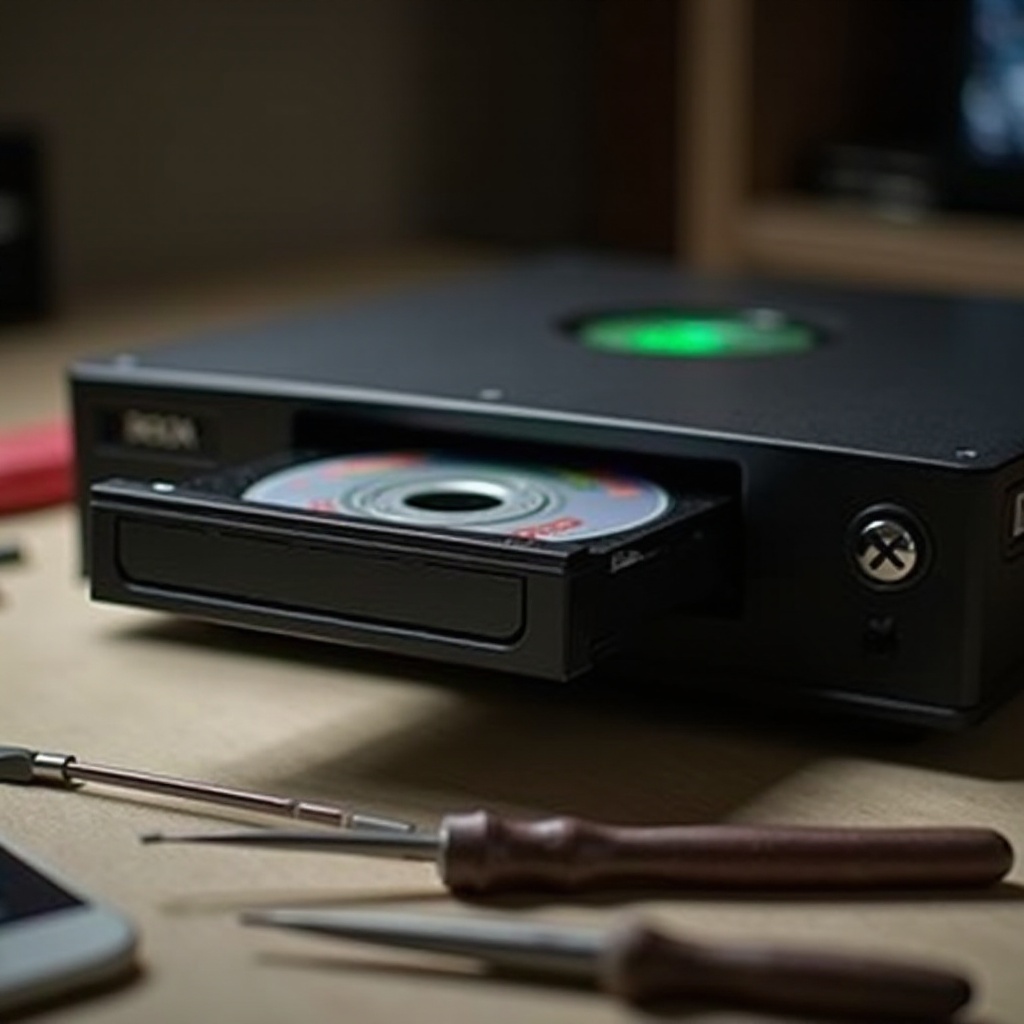
The original Xbox brings back cherished memories for many gamers, filled with classic titles and immersive experiences. However, the passage of time can lead to wear and tear, particularly affecting the DVD drive. Problems such as not reading discs, refusing to open, or producing strange noises can disrupt your gaming experience. This comprehensive guide provides the tools and steps necessary to fix these common issues, ensuring you can continue enjoying your beloved games.
Understanding Your Original Xbox DVD Drive
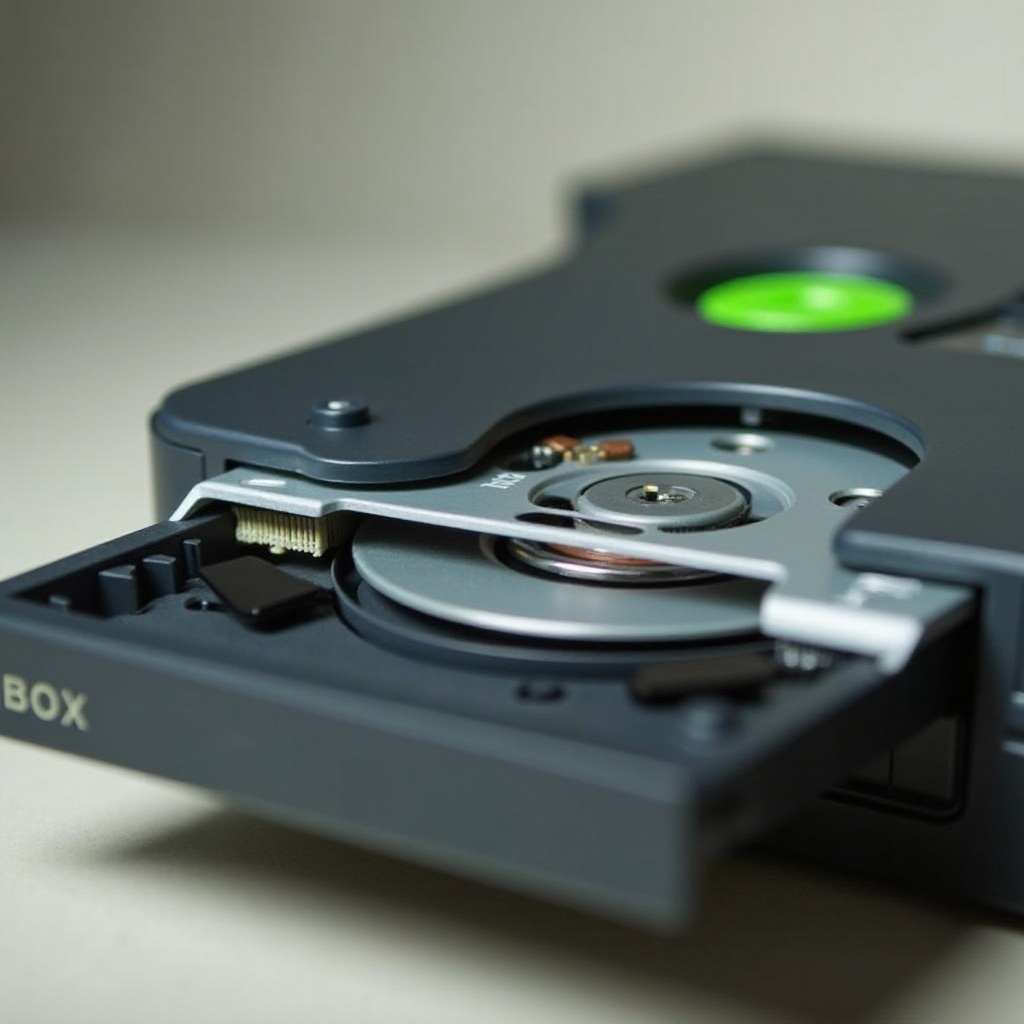
To effectively repair your Xbox DVD drive, you must first understand its components and operation. The drive is crucial for reading game discs, utilizing a laser to interpret the stored data. Core components include the laser lens, spindle motor, and drive belt. When dirt accumulates or parts wear out, functionality may decrease. Recognizing these elements will assist you in diagnosing issues and planning repairs.
Common Issues and Diagnosis
Diagnosing the problem with your DVD drive is the initial step towards repair. Knowing what to look for is key.
- Drive Not Reading Discs: A dirty or misaligned laser lens is often the culprit. Inspect the lens and clean it if necessary.
- Disc Drive Not Opening: Mechanical failures, such as a malfunctioning drive motor or worn belt, can prevent the drive from opening. Investigate these components closely.
- Strange Noises from Drive: These can indicate misaligned or obstructed mechanical parts, necessitating an inspection of the motor and spindle.
With an understanding of the symptoms, gathering the correct tools and materials will set you on the path to a successful repair.
Tools and Materials Needed for Repair
Equipping yourself with the right tools is essential for an efficient repair:
- Phillips-head screwdriver
- Soft cloth or microfiber cloth
- Lens cleaning solution or isopropyl alcohol
- Replacement parts (such as drive belt)
- Antistatic wrist strap
By ensuring you have these tools on hand, you can proceed with confidence through the step-by-step repair process.
Step-by-Step Fixing Guide
Restoring your Xbox DVD drive involves a series of clear steps. Follow them closely for the best results:
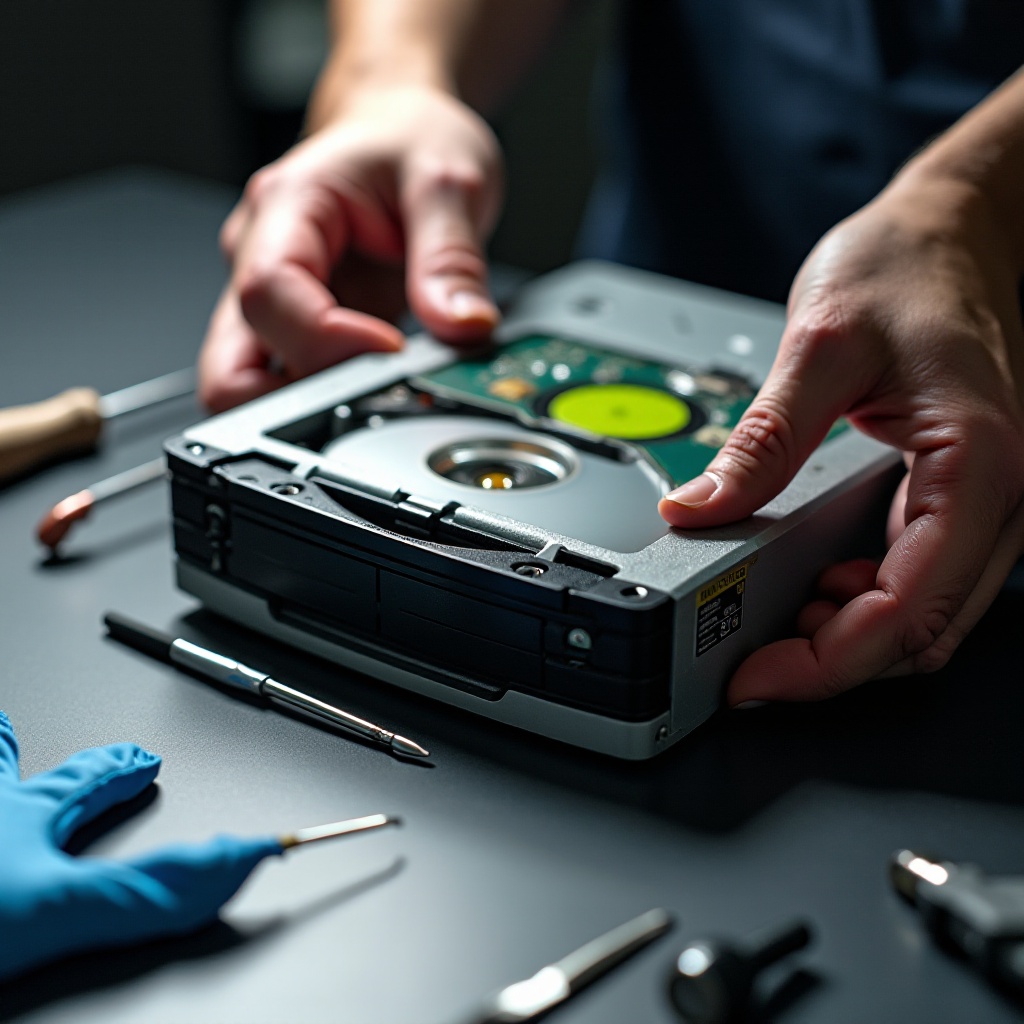
- Disassembling the Xbox Console: Disconnect the Xbox from power and attached devices. Use a Phillips-head screwdriver to remove the console’s screws and gently lift off the cover.
- Cleaning the Laser Lens: Locate the DVD drive and reveal the laser lens. Gently clean it with a soft cloth moistened with lens cleaning solution to eliminate dust and debris.
- Adjusting the Laser Mechanism: If cleaning fails to resolve the issue, consider realigning the laser by adjusting the potentiometers following the service manual directions.
- Checking and Replacing the Drive Belt: Inspect the drive belt for signs of wear or slack. If necessary, replace it to ensure smooth operation of the opening mechanism.
These steps address typical DVD drive issues. Completing them prepares you to test the drive’s functionality.
Testing and Troubleshooting Post-Repair
After repairs, verify your Xbox functions as expected by reassembling the console. Retrace your disassembly steps, then:
- Connect your Xbox to its power source and a screen.
- Insert a game disc to see if the drive reads and whether it opens and closes smoothly.
- Listen for any unusual sounds. Reevaluate the repair steps if issues persist, or consult a professional.
Testing ensures your repairs were successful, allowing you to enjoy games without disruption. Consider taking preventive measures to extend the life of your Xbox.
Preventive Maintenance Tips for Longevity
To keep your Xbox running smoothly, follow these maintenance recommendations:
- Clean the exterior and vents regularly to prevent dust accumulation.
- Do not move the console while a disc is spinning to avoid misalignment.
- Store the console in a cool, dry area to prevent temperature or moisture damage.
Proper maintenance helps maintain your console’s functionality, allowing continued enjoyment of vintage games.
Conclusion
Repairing your original Xbox DVD drive may seem complex, but with the right guidance, it becomes manageable. By following the detailed steps provided in this guide, you can diagnose, resolve, and test drive issues, preserving your classic gaming experience. Whether cleaning a laser lens or replacing parts, these efforts aid in elongating your console’s lifespan.
Frequently Asked Questions
What should I do if my Xbox still doesn’t read discs after repair?
Recheck your repairs or consult a professional for a deeper diagnosis if the issue persists.
Can I use replacement parts from newer Xbox models?
It’s recommended to use parts designed for the original Xbox to ensure compatibility.
Is it worth repairing the old Xbox, or should I upgrade?
Repairing can be cost-effective for minor issues, while upgrading offers enhanced features and support.