Introduction
How can you get back to enjoying your Nintendo DS games when your screen is cracked or malfunctioning? This guide provides a clear path for identifying screen issues and fixing them yourself. Not only does DIY repair save money, but it also lets you take control of your device’s longevity. Here, you’ll find everything from diagnostic advice to step-by-step repair instructions, ensuring you restore your gaming experience without the costly intervention of a professional.

Tools and Materials Needed
Before you start the repair process, ensure you have the following items ready:
– Precision screwdriver set
– Compatible replacement screen for your DS model
– Plastic opening/pry tool
– Tweezers
– Microfiber cloth
– Adhesive tape or glue if required
Having these tools at your disposal enables a smoother, more efficient repair journey. Preparing in advance ensures you can focus on the task without interruptions.
Preparing Your Nintendo DS for Repair
To begin, power off your Nintendo DS completely. This step is crucial to prevent any accidental damage to electronic components.
1. Remove the battery to cut off all power supply.
2. Carefully take out the stylus and any game cartridge loaded in the device.
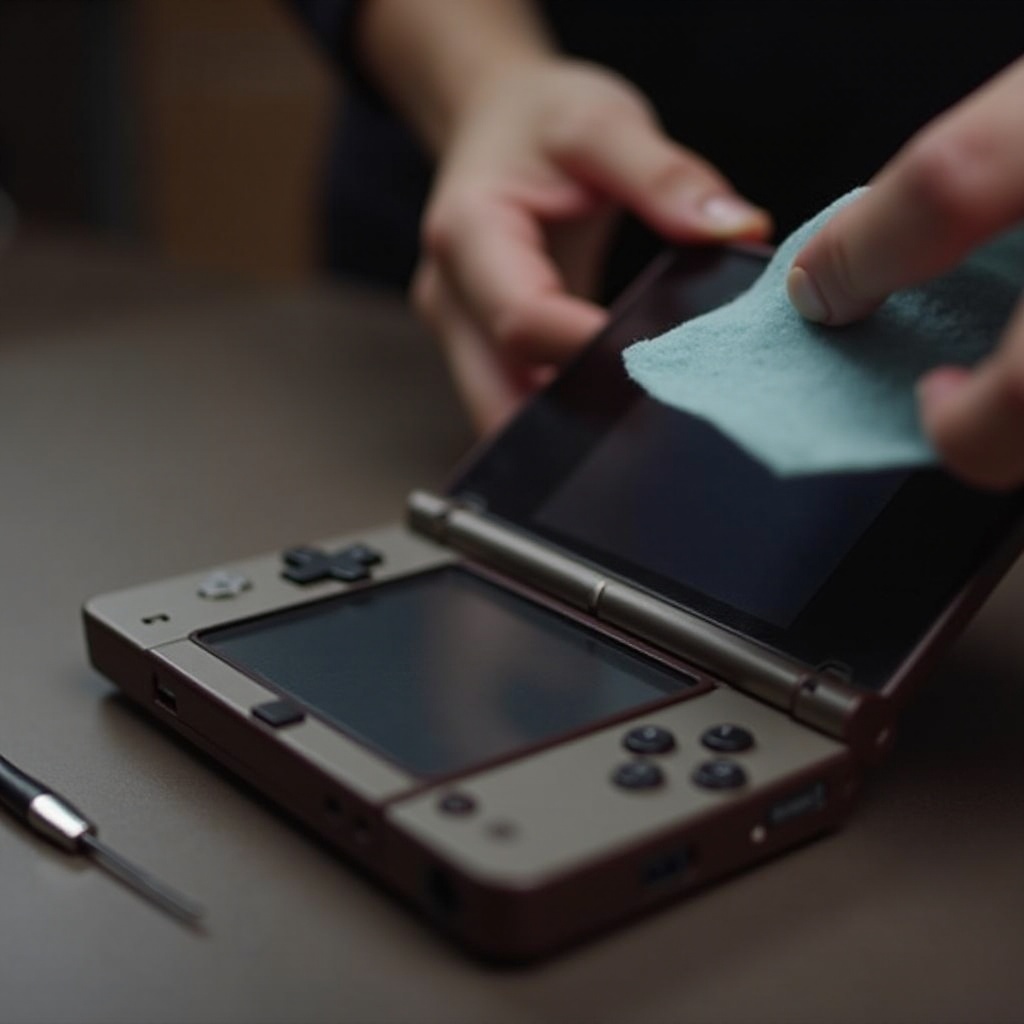
3. Clean the DS exterior using a microfiber cloth to minimize dust intrusion during the repair.
Proper preparation sets the stage for diagnosing and addressing the screen issue accurately.
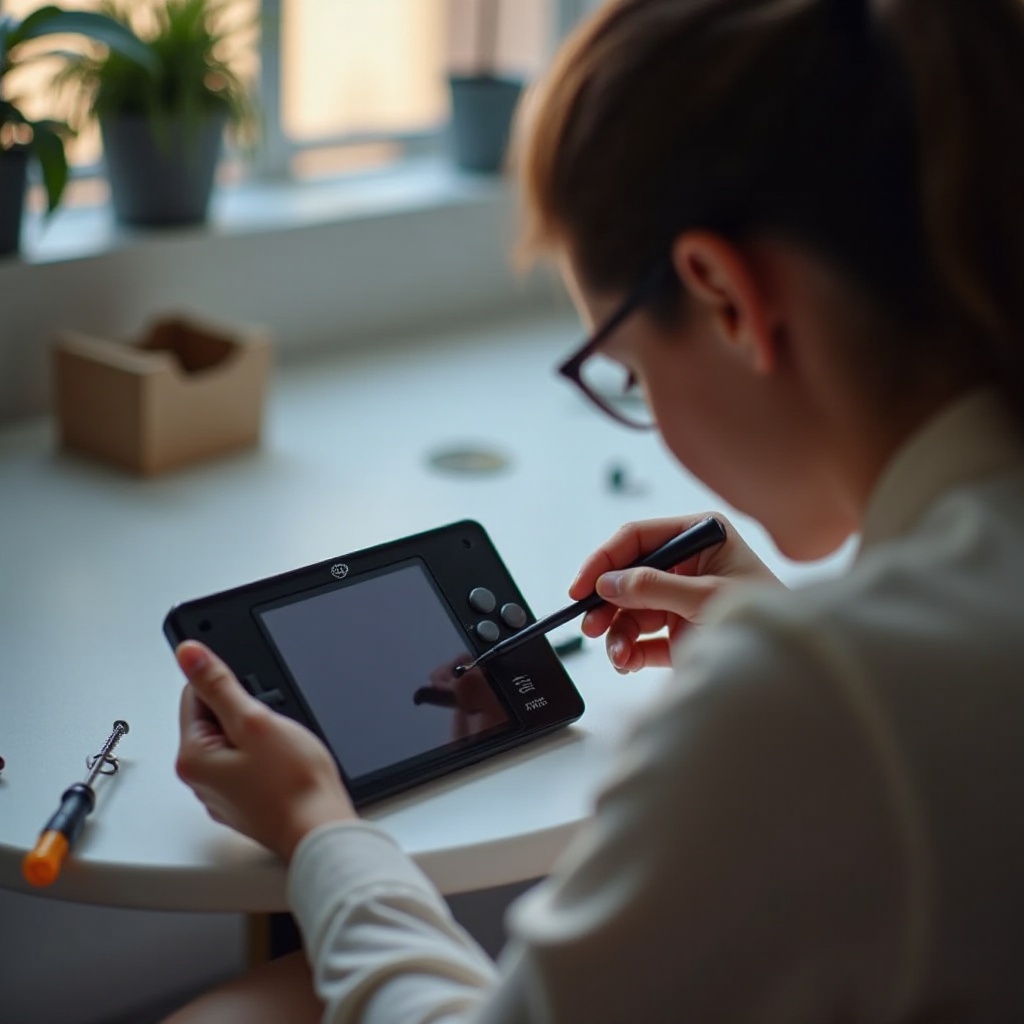
Diagnosing the Screen Issue
With your DS powered off and prepped, next determine the screen’s specific problem. This will guide your repair strategy.
– Inspect Physically: Check for visible cracks or significant damage.
– Functional Assessment: Turn on the DS momentarily to assess display issues like dead pixels or flickering.
– Touch Sensitivity Test: Plug into a test game and touch various screen areas to check responsiveness.
These checks will confirm whether a replacement is necessary, or if a deeper issue like a loose connection is the culprit.
Disassembling the Nintendo DS
Proceed with care as you open your DS. Follow these instructions meticulously:
1. Lay your DS face down on a gentle surface.
2. Unscrew all visible back screws using your precision screwdriver.
3. Gently pry apart the casing with your tool, avoiding force to prevent breakages.
4. Open the casing to reveal the screen and internal components.
This disassembly must be performed with caution to safeguard internal parts, ensuring they remain undamaged and operational.
Installing the New Screen
Now that the internal components are visible, it’s time to swap out the old screen for the new one.
1. Detach the connecting ribbon cables attaching the old screen.
2. Carefully remove the malfunctioning screen.
3. Place the new screen into position and connect it firmly using the ribbon cables.
4. Check that all connections are secure before proceeding.
Proper installation is key to a fully functional screen, so take your time to ensure connections are not loose.
Reassembling and Testing
Once installation is complete, the next step is to reassemble and test the DS.
1. Securely replace the casing and reattach each screw accurately.
2. Insert the battery, then switch on the DS to evaluate the new screen.
3. Verify the screen’s performance by checking visuals and touch sensitivity.
Testing ensures that your efforts have restored the DS’s performance, allowing you to enjoy seamless gameplay once more.
Maintenance Tips for Your Nintendo DS
Now that your DS is as good as new, maintenance will keep it that way:
– Regular Cleaning: Wipe your screen periodically with a microfiber cloth to keep dust and grime at bay.
– Proper Storage: Use a protective case when not in use to avoid drops and physical damage.
– Mindful Handling: Use gentle pressure on the screen and avoid sharp objects that could cause scratches.
Ongoing care will maximize the lifespan and performance of your Nintendo DS, reducing the need for further repairs.
Conclusion
Repairing your Nintendo DS screen by yourself is not only cost-effective but also empowering. With the right tools and knowledge, your DIY efforts will revive your console swiftly. Enjoy problem-free gaming sessions once again, and consider joining online forums for additional tips and support from other DIY enthusiasts.
Frequently Asked Questions
What are the most common Nintendo DS screen issues?
Common problems include cracked screens, unresponsive touchscreens, and dead pixels.
Can a cracked Nintendo DS screen be repaired at home?
Yes, with the right tools and careful guidance, you can repair a cracked screen yourself.
How much does it cost to replace a Nintendo DS screen?
The cost typically ranges from $20 to $50, depending on the model and retailer.